
Making & Mending - DIY 3.5mm Cables


3.5mm jacks, also called headphone jacks, are the most common type of audio cable. There are different variations of the 3.5mm audio jack, such as the smaller 2.5mm and the larger ¼”, but they are all functionally similar. 3.5mm cables are commonly available as off-the-shelf items, but sometimes a repair it easier than a replacement. Other times, users need a custom size not available as a standard cable.
Key Takeaways
- 3.5mm cables are widely used for headphones, speakers, computers, smartphones, car audio, and other audio equipment.
- The main 3.5mm connector configurations include TS, TRS, and TRRS.
- Always verify the wiring configuration before making or repairing a cable.
- Use suitable audio cables, connectors, soldering tools, and strain relief for DIY projects.
- Inspect and document existing wiring before removing a damaged connector.
- Use a multimeter to check continuity and identify short circuits before connecting the repaired cable.
- Poor solder joints and damaged shielding can cause static, dropouts, or loss of one audio channel.
- TRRS cables require additional attention because wiring configurations can vary between applications.
- Heat-shrink tubing and proper strain relief can improve the durability of repaired connections.
- For heavily damaged cables or critical applications, a professionally manufactured replacement may be preferable.
- The correct connector, wiring configuration, soldering technique, and testing are essential for a reliable DIY 3.5mm audio cable.
This guide will show users how to assemble 3.5mm cable themselves, either as a repair or brand-new installation. Since 2.5mm and ¼” jacks are the same shape as 3.5mm, they use the same installation process and the below steps can be used as a general guideline for them as well.
Before getting started, it is important to note there are different types of 3.5mm connections. These three types are TS, TRS, and TRRS. TS connections are used for mono audio or independent microphones and have one ring around the metal end of the connector. TRS connections are used for stereo audio and have two rings. TRRS connections are used for stereo plus a microphone and have three rings.
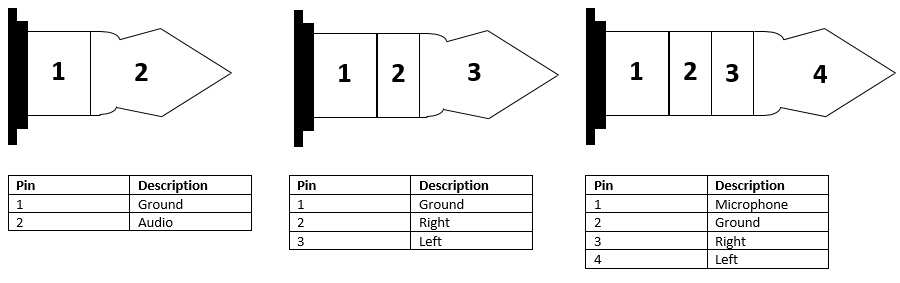
TS (left), TRS (middle), and TRRS (right) are all industry standards.
*Note: In the images below, we will be using a TRS connector as this is the most common type. A video guide featuring all these steps is available at the bottom of the article.
Step 1: Gathering the Supplies
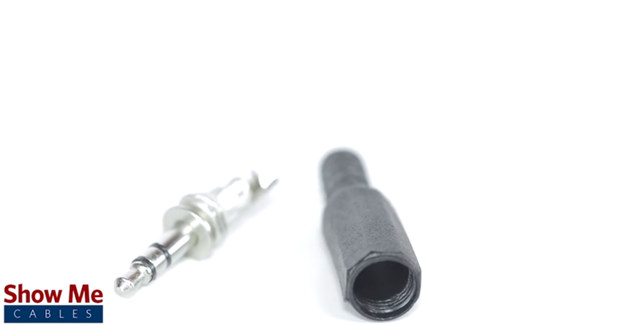
There are a few simple supplies that will be needed for an installation or repair. The key components are the 3.5mm connector as well as the cable. In the image above, you can see the connector separated into two, three, or four different sections depending on the type of connector used. Make sure to use a cable with a matching number of conductors (internal wires).
Aside from the connector and cable, you will also need a wire stripper as well as a soldering iron. A pair of pliers or something similar will be needed towards the end to pinch the connector onto the cable. Something that can hold the connector while the solder is applied, like a soldering station or a simple vice, is also very useful. The connector may come assembled; if that is the case, remove the strain relief (the outer plastic shell) from the metal part of the connector before getting started.
Step 2: Stripping the Jackets
Before actually stripping the jacket, take the strain relief and slide it over the cable. Put the cable stripper over the outside of the cable and spin it around to cut through the outside jacket. Most cable strippers are rated for multiple cables, so check the AWG (American Wire Gauge) written on the outside of the cable to make sure the right notch on the stripper is used.
After the outer jacket is removed, the conductors will also need to be stripped to expose their metal cores. A bit of the shielding may also be sticking out, which can be trimmed away with a pair of regular scissors.

Step 3: Tinning the Cable
Heat up the soldering iron and apply solder to the ends of both conductors and the end of the shielding. This processing is called tinning and will make it easier to establish a secure connection between the cable and the connector in Step 6.

Step 4: Tinning the Connector
Next, use the soldering iron to tin the connection points on the connector. This is much easier if the connection is being held still. Using a vice or having someone else hold the connector both work well, but handle the soldering iron with care if somebody is holding the connector. Each of these solder points corresponds to a different section (the tip, ring, and sleeve for TRS) of the connector.

(Optional) Step 5: Testing with a Multimeter
The tip, ring, and sleeve are the different sections of the connector separated by the plastic ring(s) on the end. If you are unsure which is which, a multimeter can be used for testing. The easiest method is to use the two ends of the multimeter to see which tab on the back of the connector corresponds to the tip, ring, and sleeve respectively.

Step 6: Soldering the Connector
Solder the conductors and ground onto the back of the 3.5mm connector. Make sure to solder each conductor onto the correct section of the connector. If a mistake is made and the solder is still hot, it can be removed with a desoldering iron. Otherwise, the connector cannot be reused and it will need to be cut off to start from scratch.

Step 7: Securing the Connector
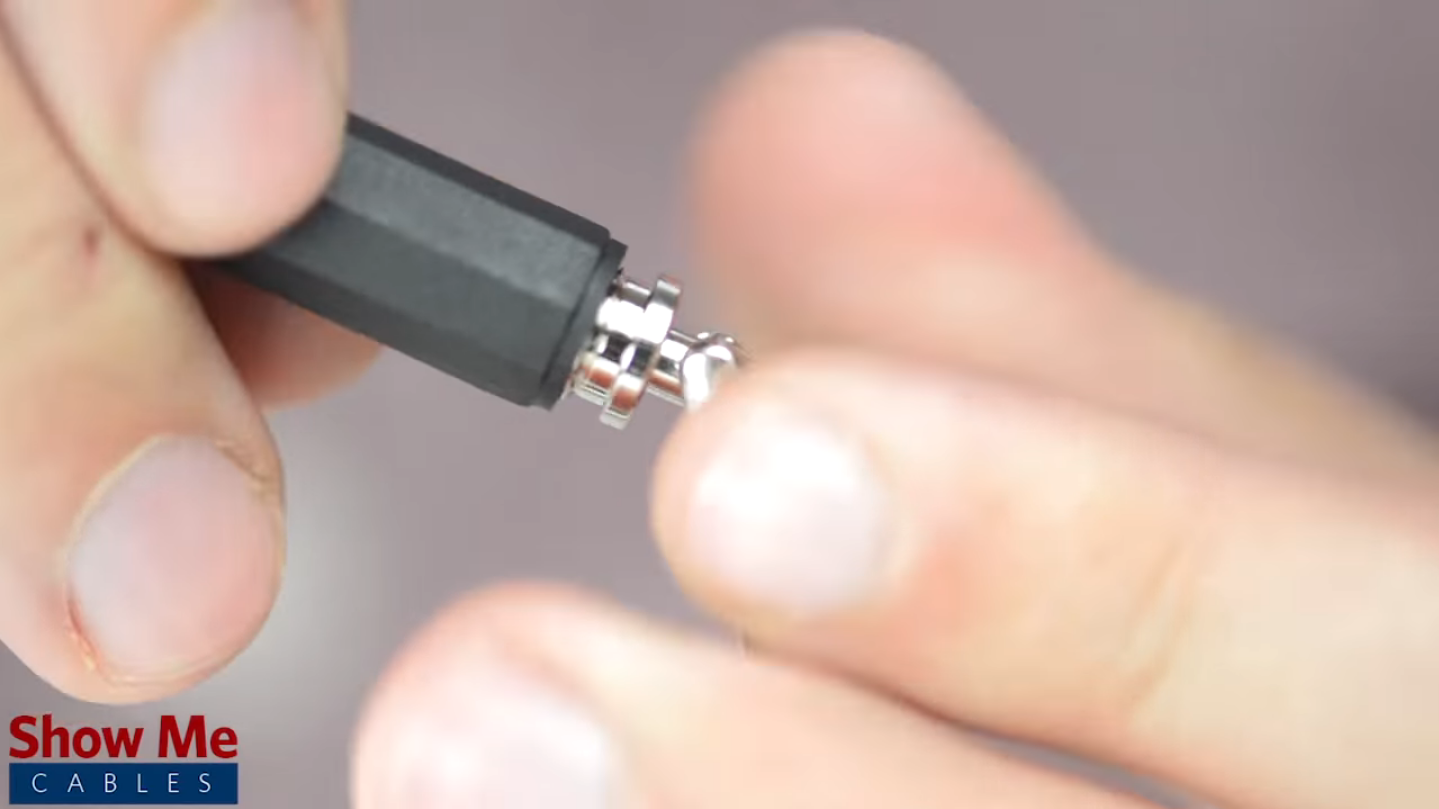
Using a pair of pliers or a similar tool, squeeze the back of the connector to secure it to the cable. Then slide up the strain relief from Step 1 and tightly secure it to the connector and your cable will be complete.
Video Guide:
Recommendations
For Headphones
Use a flexible cable and the correct connector configuration for the headphones. If the original cable uses a TRRS connector, verify the correct wiring standard before making a replacement.
For Smartphones and Portable Devices
For devices with a 3.5mm audio jack, use a compatible TRS or TRRS cable depending on whether the application requires stereo audio only or headset functions such as microphone input.
For Home Audio Systems
A standard stereo 3.5mm TRS cable can be appropriate for connecting compatible devices such as computers, portable audio players, powered speakers, and other consumer audio equipment.
For DIY Audio Projects
Use a suitable shielded audio cable, quality connectors, and proper strain relief. Carefully document the wiring before soldering.
For Stereo Audio
Use a correctly wired TRS connector when the application requires standard left-and-right stereo audio.
For Headset Applications
Use the appropriate TRRS connector and wiring configuration when both stereo audio and microphone functions are required.
For Professional or Critical Audio Applications
Consider using a professionally manufactured cable when reliability, shielding, connector durability, and consistent performance are more important than DIY repair.
FAQs – Frequently asked questions
What is a 3.5mm cable?
A 3.5mm cable is an audio cable that uses a 3.5mm plug or jack. It is commonly used for headphones, speakers, computers, smartphones, car audio systems, and other audio equipment.
What are the different types of 3.5mm connectors?
The most common configurations are TS, TRS, and TRRS. They differ in the number of conductive sections and their intended applications.
What is the difference between TRS and TRRS?
A TRS connector has three conductive sections—tip, ring, and sleeve. A TRRS connector has four and can support additional signals, such as a microphone connection in compatible headset applications.